
Installing GoToSocial
This page makes the following assumptions:
- You have a running VPS (Virtual Private Server), or some other server to run your software.
- You have a domain name reserved for your node that's pointed to your VPS.
If either of these aren't true, the New Node Setup Guide can get you started!
We are now going to download, install, and configure GoToSocial on your system. This is what we've been working towards!
For the ease of simplicity, this guide will go through the simplest possible install of GoToSocial - this means having GoToSocial handle web traffic, using SQLite for your database, and not installing a frontend yourself. Alternate versions of this guide going through more complicated installs may be created in the future - for now, check out the GoToSocial documentation for instructions on how to set these up.
This guide is written based off, and uses a lot of the same commands, as the upstream documentation: GoToSocial Installation - Bare metal
You can also view a video setup guide. It was recorded in early September 2024, and may not agree with this written guide on some specifics. Double check the "Configuring GoToSocial" section for up to date configuration recommendations. Also see "Making SELinux Happy" if you are on Rocky Linux.
Make some directories for GoToSocial to live in:
sudo mkdir -p /gotosocial/storage/certs
cd /gotosocial
Next, download and extract the Website League GoToSocial fork:
Check the releases page for the latest version. The link below may point to an older release!
sudo wget https://gitlab.com/website-league/gotosocial/-/releases/downloads/v0.18.3-wl0/gotosocial_0.18.3-wl0_linux_amd64.tar.gz
sudo tar -xzf ./gotosocial_0.18.3-wl0_linux_amd64.tar.gz
Then, make a copy of the example config.yaml and open it up. It's time to configure your new instance!
sudo cp example/config.yaml ./
sudo nano config.yaml
Configuring GoToSocial
There's going to be a lot of settings! You're probably going to want to look through them all, but below is some of them you're probably going to want to change/adjust from default:
# host: Set this to your domain name.
host: "my-awesome-wobsite.instance"

# Running on allowlist is required for Website League nodes.
instance-federation-mode: "allowlist"

# Make clients that demand mastodon happy
instance-inject-mastodon-version: true

# instance-languages: Set this to you(r users') preferred languages!
# https://en.wikipedia.org/wiki/IETF_language_tag#List_of_common_primary_language_subtags
instance-languages: ["en"]

# If this is a single user instance, you can change this to your user
# and it'll go to your profile when browsing to your instance domain.
landing-page-user: ""

# Enable this if you're making a multi-user node and you're ready to accept registrations.
accounts-registration-open: false

# If you're from Cohost, you probably want this. Not as good as federated CSS crimes,
# but hey, you can at least have custom CSS on your profile!
accounts-allow-custom-css: true

# Adjust that character limit, make it something a little less cramped.
# (50k characters appeared to cause no problems in testing.)
statuses-max-chars: 50000

# Set up GoToSocial to run as the webserver
# and set up SQLite as our database of choice.
port: 443
db-type: "sqlite"
db-address: "sqlite.db"

# This should be correct, but change it if you're using a different directory.
storage-local-base-path: "/gotosocial/storage"

# Set up GoToSocial to get a free SSL cert from Let's Encrypt
letsencrypt-enabled: true
letsencrypt-cert-dir: "/gotosocial/storage/certs"
letsencrypt-email-address: "your@awesome-email.here"
It's probably best to take some time to look through the entire configuration file, though, and see if there's anything you want to change.
Configurations that have different `host` and `account-domain` configuration values can introduce problems with federation later that can be tricky to diagnose, so it's easiest to keep them the exact same. (or leave `account-domain` blank)
Smoke Test
Let's see if it works!
Run the following command:
sudo ./gotosocial --config-path ./config.yaml server startYour screen should fill with lines, then you should see something like the following near or at the bottom:
timestamp="26/09/2024 04:39:03.389" func=router.(*Router).letsEncryptTLS.func2 level=INFO msg="letsencrypt listening on 0.0.0.0:80"
timestamp="26/09/2024 04:39:03.390" func=router.(*Router).Start.func1 level=INFO msg="listening on 0.0.0.0:443"
Go to your browser, type in your instance domain, and see if it loads!
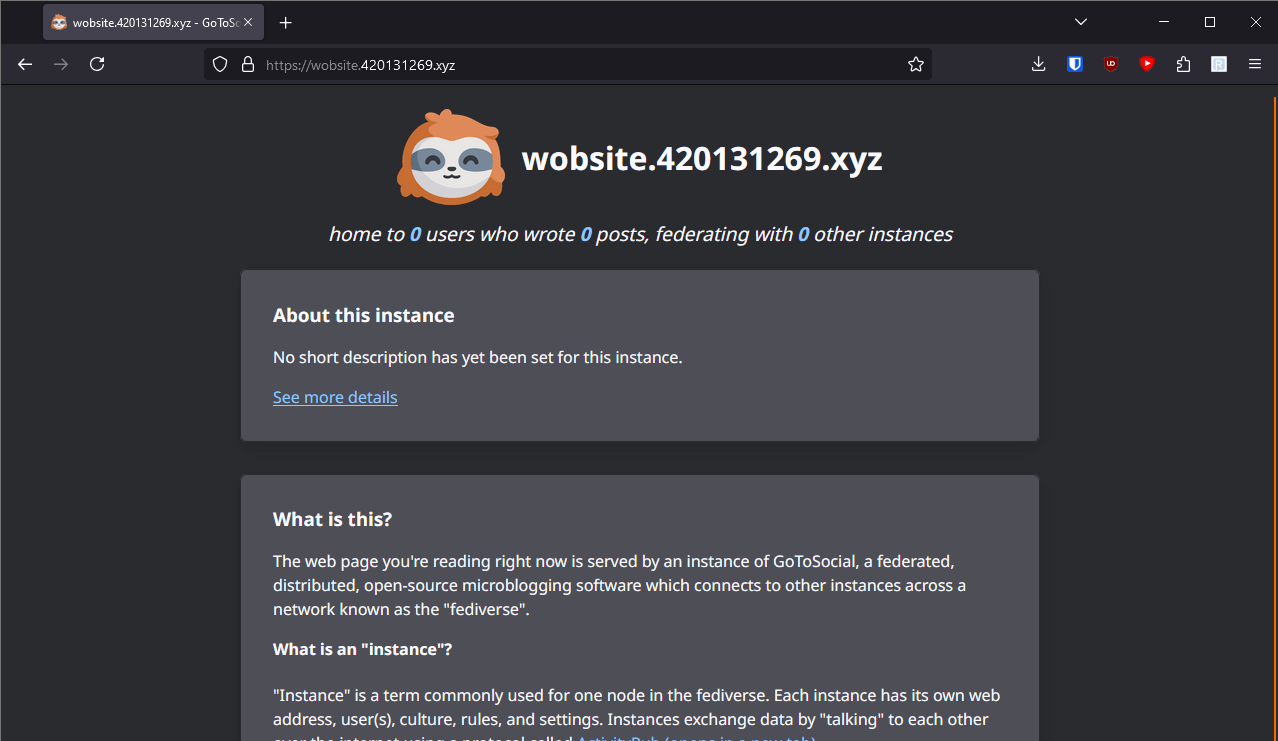
If it loads, congratulations - you've got yourself a brand new fediverse instance! If not, there's a variety of things you can check. It may need just a moment to get itself an SSL certificate, for one. You may also want to double-check your DNS configuration, as well as the rest of your GoToSocial configuration. Remember - if you need help, there are folks that're willing and able to provide.
Run GoToSocial as a Service
Now that we know it can run, it's time to run it in a way that doesn't require you to be logged in to your console forever. Press Ctrl+C in the console to stop it running for now (it'll be back very soon!)
First, let's create a user like we did earlier, but for GoToSocial, then make it own the /gotosocial folder we made:
sudo useradd -r gotosocial
sudo groupadd gotosocial
sudo usermod -a -G gotosocial gotosocial
sudo chown -R gotosocial:gotosocial /gotosocial
Don't worry about creating a password for it - this is a system account. Nobody should be logging in as this user.
Now, copy the systemd service to the correct folder, and open it up in a text editor:
sudo cp /gotosocial/example/gotosocial.service /etc/systemd/system/
sudo nano /etc/systemd/system/gotosocial.service
If you followed the instructions as given here, you'll only need to uncomment a single line:
# You might need this if you are running as non-root on a privileged port (below 1024)
AmbientCapabilities=CAP_NET_BIND_SERVICE
It should look just like that - no # in front of it.
Now, time to enable and run it:
sudo systemctl enable --now gotosocial.serviceThis isn't necessary for Ubuntu, the recommended distro, but if you're using a Red Hat-derived distro (Rocky Linux, CentOS Stream, or Fedora, for example), there's a good chance you have SELinux enabled and you should take the extra time to configure GoToSocial to work with that.
Creating a User
You're now running GoToSocial as a bonafide service! ...Except you don't have an account. Let's fix that.
Run this command, then enter the password you want and hit Enter again:
read -r THEPASSWORDThen, run the following commands, replacing your_username_here and your@awesome.email with your username and E-mail (don't replace THEPASSWORD - this will get substituted automatically with the password you just entered):
cd /gotosocial/
sudo -u gotosocial ./gotosocial --config-path ./config.yaml \
    admin account create \
    --username your_username_here \
    --email your@awesome.email \
    --password ${THEPASSWORD}
sudo -u gotosocial ./gotosocial --config-path ./config.yaml \
    admin account promote --username your_username_here
Finally, restart GoToSocial:
sudo systemctl restart gotosocial.serviceYou've got your own user now! Now you can use a client like Semaphore to log in and make posts!
...To nobody, yet. You've gotta add the other Website League nodes to your allowlist. This is fairly simple, though!
Managing the Allowlist
As of the writing of this guide, there is currently no automated way to manage the allowlist for the Website League. One is in the works - once it is finished, this guide will be updated to include the installation of such automation. In the interim, this will go over how to manually add nodes to your allowlist.
Go to the following URL, replacing "your-cool.instance" with your instance domain:
https://your-cool.instance/settingsLog in to the account you just made. Then, go to Domain Permissions > Allows. Here, you can then type the name of an instance, then hit Allow, then Allow again.
Alternatively, if you have a list of domains, you can go to Domain Permissions > Import/Export, paste the list, tick the "Domain allows" box, then import.
You're done! If you've made it all the way to the end here - congrats on your new instance, and thanks for reading! Hope it helped. If you have any questions or need any help, there's folks on Zulip who're willing to help, including the author of this guide, Kit Lotor.
No Comments